Getting started
Quickstart
The shortest path from a new account to mail flowing both directions. Inbound works as soon as DNS propagates; sending turns on after a short review, so request sending early.
You need a domain you control and access to its DNS provider. Everything else happens inside the Emayler dashboard.
Create an account
Sign up from the marketing site. You land in the dashboard with a new organisation. Inbound mail is unlimited from the first message; sending starts disabled on every new organisation and is enabled after a short review.
Add your domain
In the dashboard, open the Domains tab and add your domain. Type the domain name and confirm. A new domain is a single step; there is nothing to configure per customer domain.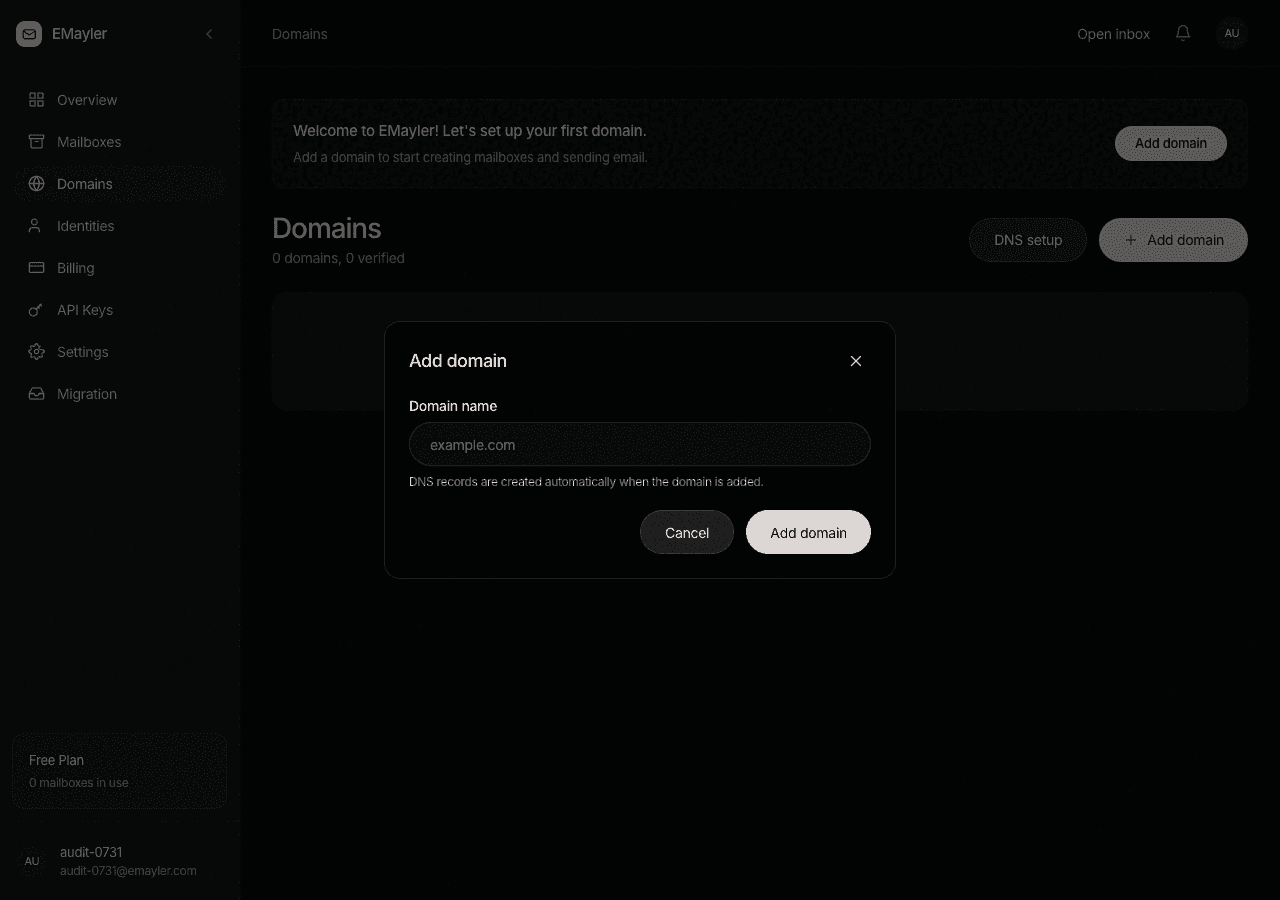
Publish the DNS records
Emayler returns the records to publish: MX, SPF, a DKIM CNAME, DMARC, and an ownership TXT token. Copy each one to your DNS provider using the copy button next to it. If your DNS provider supports automatic setup, Emayler can write the records for you; see the DNS setup guide.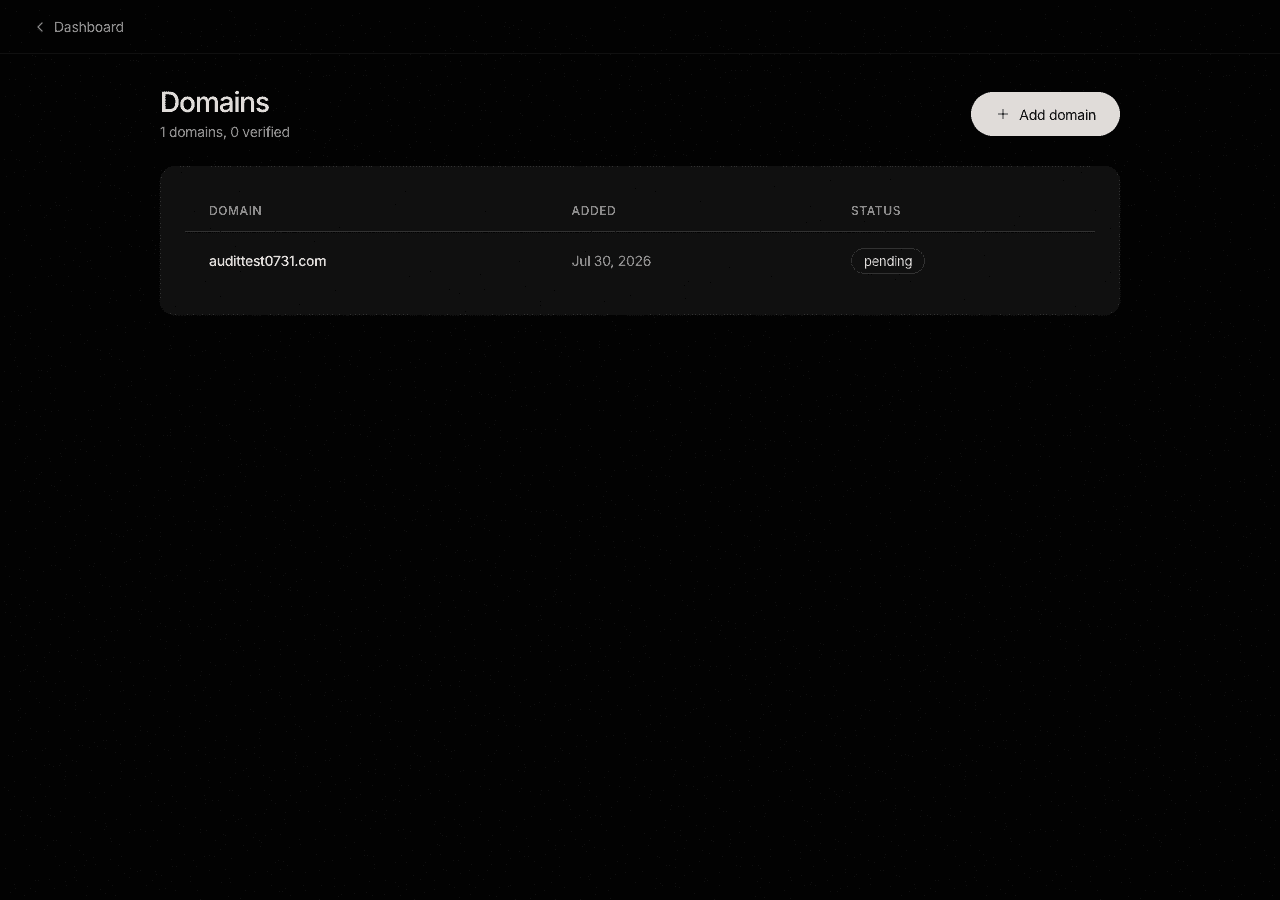
Wait for verification
Emayler re-checks DNS automatically. To check on demand, use Check now on the domain. Records that show as waiting are not failing; DNS propagation can take a while.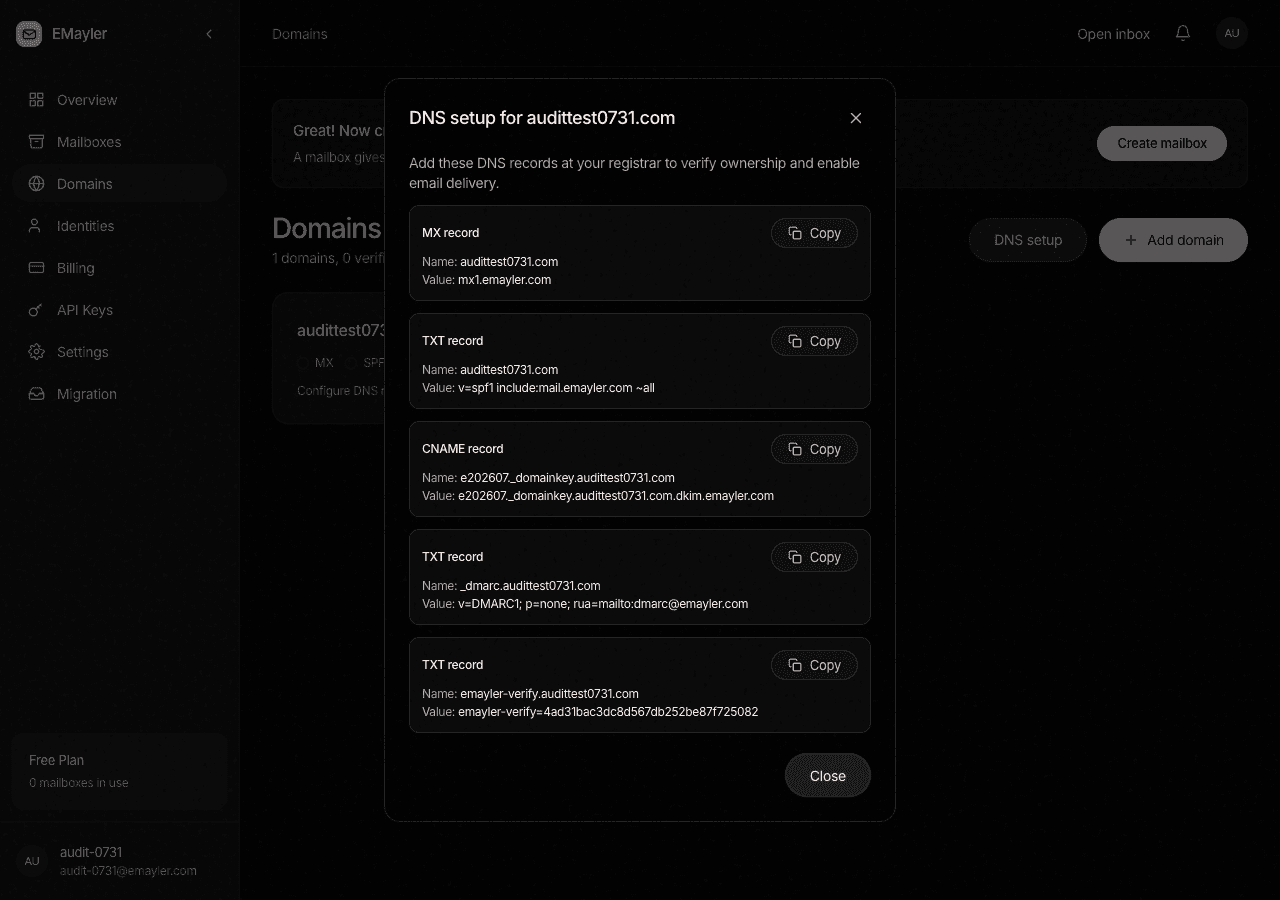
Create a mailbox
Once the domain verifies, open the Mailboxes tab, pick the domain, and type a name to create your first mailbox. Every mailbox starts with five folders: INBOX, Sent, Drafts, Trash, and Archive.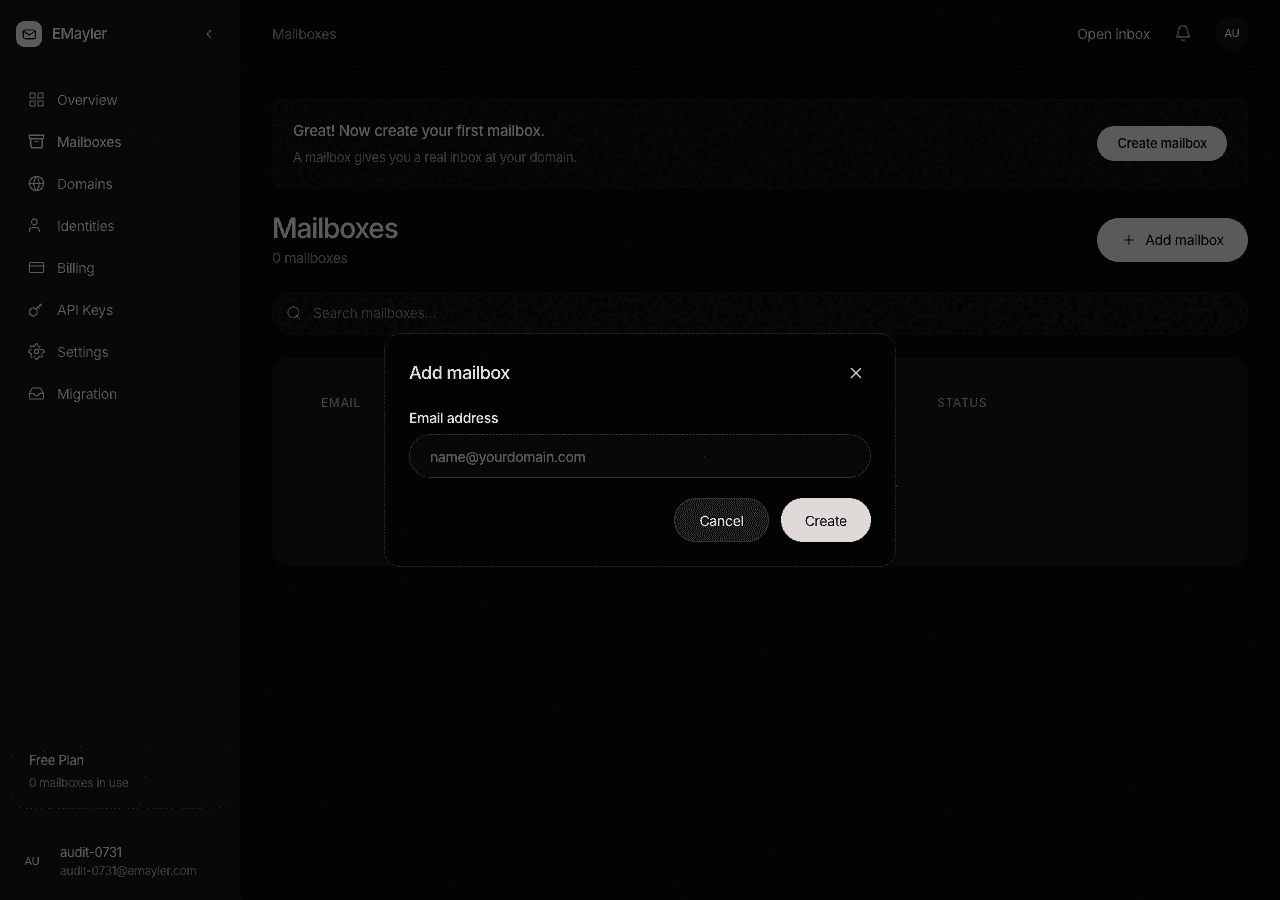
Send yourself a test email
From any outside account, emailyourname@yourdomain.com. It appears in the web inbox within seconds. Inbound works before the sending review, because receiving and sending are handled independently.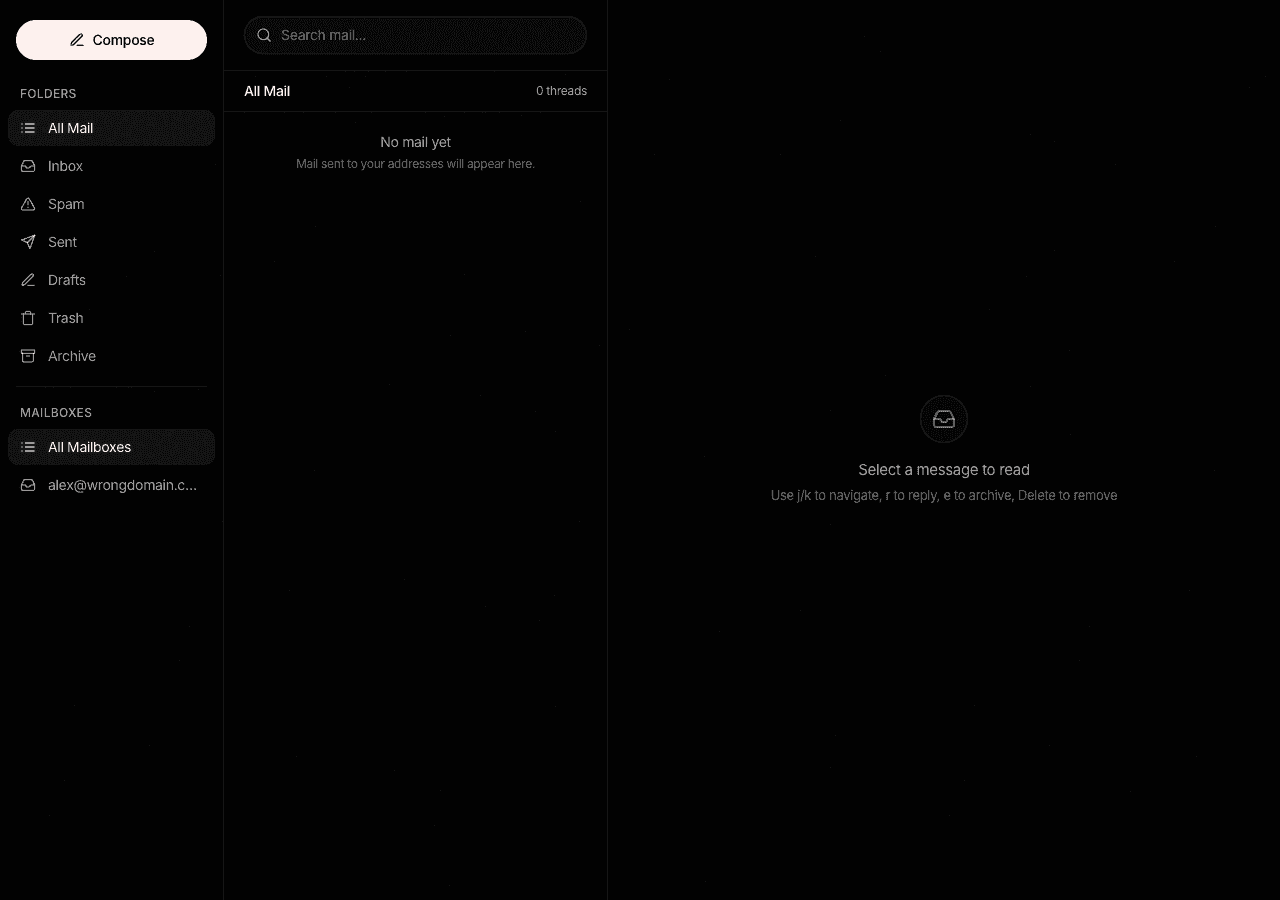
Create an API key
Open the API Keys tab and create a key with thereadandwritescopes. The token is shown once; store it somewhere safe. Keys start withemk_live_.Request sending
Sending starts disabled on every new organisation and is enabled by an operator after review. Contact support from the dashboard to request it. Do this now, before you need to send.Send your first email from the inbox
Once sending is enabled, open compose in the inbox, write your message, and send it. It goes out signed with your domain's own key, so it passes authentication checks in Gmail, Outlook and other mail apps.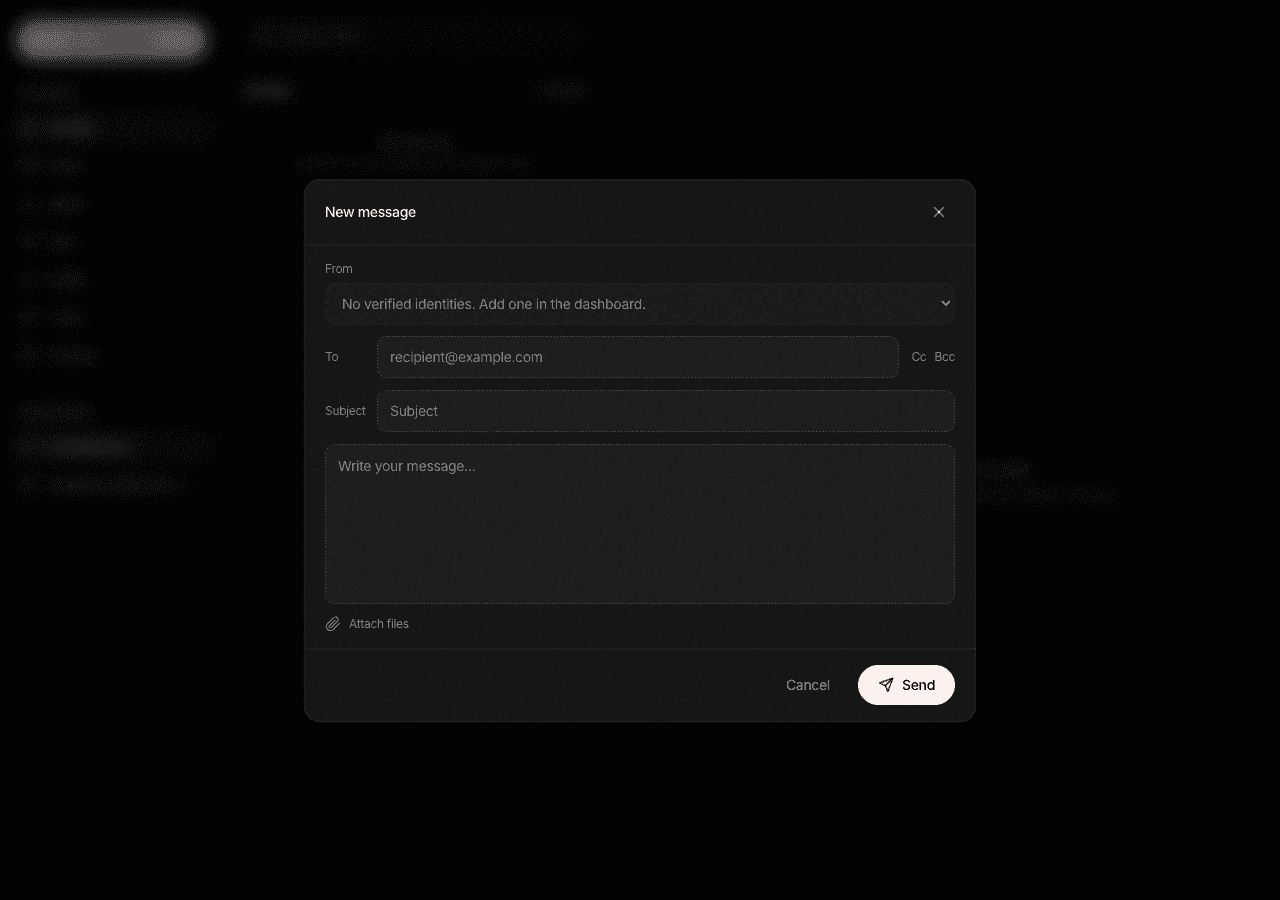
Prefer to script this?
The dashboard covers one account. To set up domains, mailboxes, and sends in code, see the API quickstart.
The concepts page explains the data model and the storage architecture. The full dashboard guides live under Using the dashboard.